RF Guru
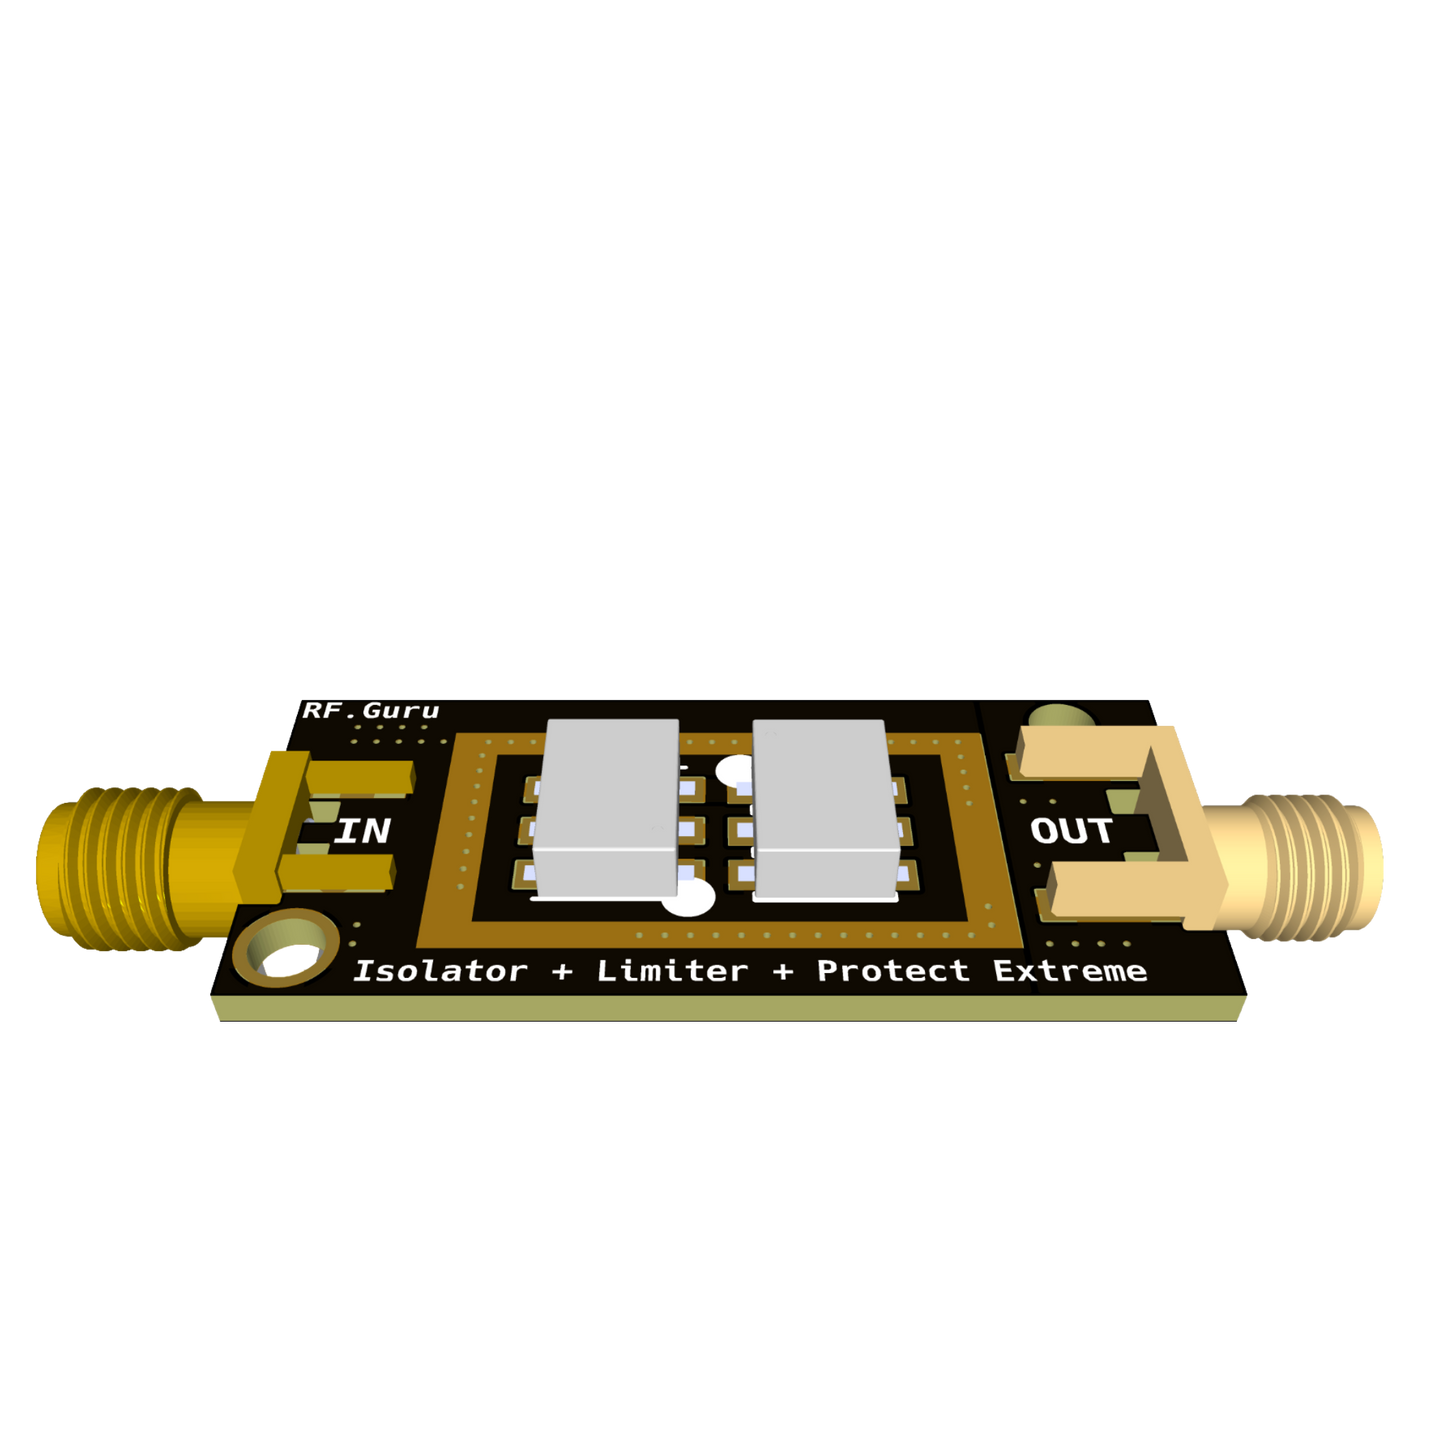
RX Frontend Protector, Galvanic Isolator & Limiter (1 - 400 MHz)
RX Frontend Protector, Galvanic Isolator & Limiter (1 - 400 MHz)
Regular price
€94,00 EUR
Regular price
Sale price
€94,00 EUR
Unit price
per
Tax included.
Couldn't load pickup availability
Optimized for HF Band (2 MHz - 60 MHz)
- Effectively limits input RF, ensuring safe operation even with nearby TX antennas.
- Provides common-mode noise rejection when connected directly at the receiver input.
- Protects sensitive receiver front ends from ESD and excessive input power.
Technology & Design
This device is specifically engineered to safeguard sensitive receiver front ends from high RF levels and ESD discharges. Its multi-stage protection system includes:
- Gas Discharge Tube: Ensures maximum ESD protection.
- High-Pass Filter & Rectifier Diode: Serves as the first-stage RF limiter and additional ESD safeguard.
- MMIC Limiter: Caps RF input at 32 dBm, reducing it to a maximum of 8 dBm at the output.
- 1:1 Transformer: Provides galvanic isolation and enhances common-mode noise rejection, reducing RF stray pickup.
Placement Advice
For optimal performance, install the device as close as possible to the receiver input, preferably directly on the connector.
Technical Specifications
- Frequency Range: 1 MHz - 400 MHz
- Insertion Loss: <1 dB above 3 MHz, 1.23 dB at 1.9 MHz (160M band)
- VSWR: <1.6 above 3 MHz (2.28 on 160M band, refer to measurements)
- Common-Mode Rejection: ±10 dB rejection on HF, with >25 dB on 40M, 80M, and 160M bands
- Output Limiting: Max 8 dBm, compatible with modern receivers such as FlexRadio, Airspy, and Icom
This RX Frontend Protector provides essential protection against high RF levels, ESD, and common-mode noise, making it an ideal addition for any HF receiver setup.
Measurements
Return Loss & VSWR (HF)

Insertion Loss (HF)

Common-Mode Rejection (HF)

Return Loss & VSWR (VHF)

Insertion Loss VHF