Technical Overview for the RX 75 Ω Line Isolator
Updated: 2025-08-27 — Technical Overview for the RX 75 Ω Line Isolator validated against the production schematic.
Intro
This RX 75 Ω line isolator is purpose-built for active antennas, delivering +30 dB common-mode rejection across 500 kHz–200 MHz while keeping insertion loss below 2 dB. It mounts on a stainless (RVS) spike that provides both a mechanical anchor and a defined low-impedance path for unwanted common-mode noise currents to ground.
Ready to deploy: Includes the short RVS ground peg and is IP66 sealed when taped. Designed for long-term outdoor installation. Buy it here →
Specs at a Glance
| Parameter | Value |
|---|---|
| Impedance | 75 Ω (F-connector) |
| Frequency range | 500 kHz – 200 MHz |
| CM rejection | ≥ +30 dB (HF measured) |
| Insertion loss | < 2 dB |
| Grounding | Stainless RVS spike with galvanic isolation of enclosure |
| Connector sealing | IP66 after taping |
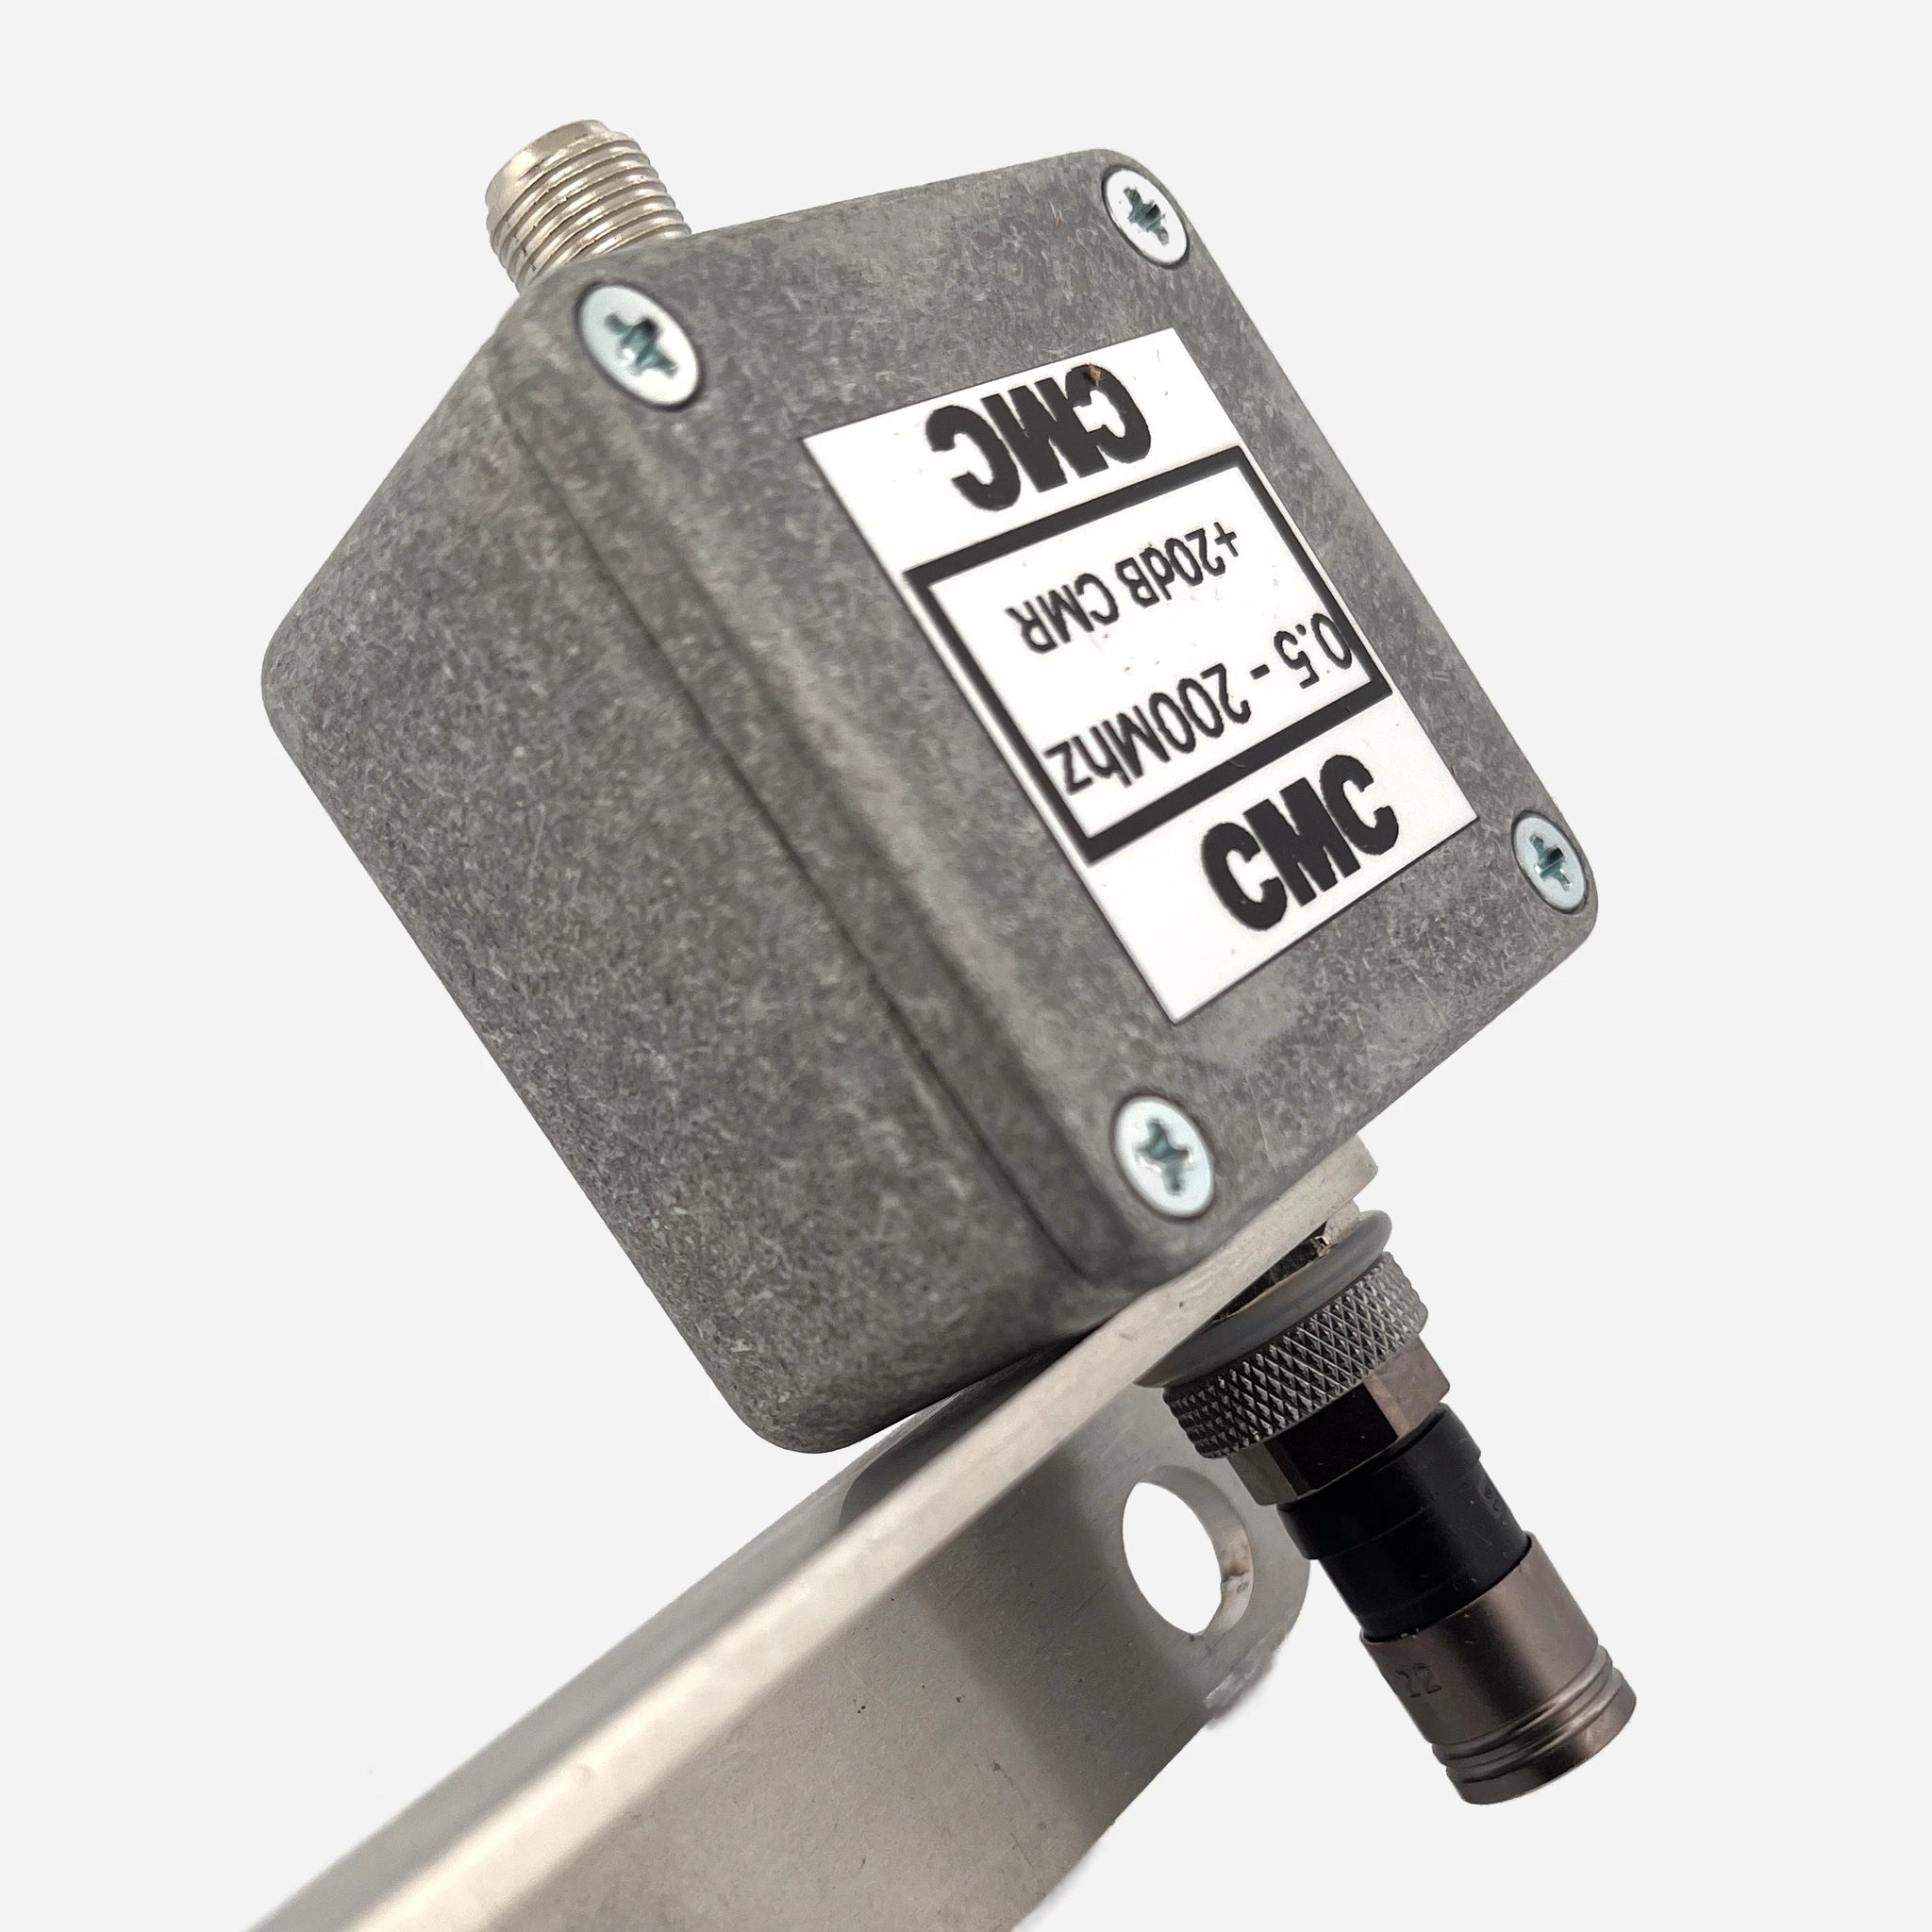
RX 75Ω Line Isolator with RVS Ground Peg closeup view
How It Works
The schematic confirms the design simplicity:
- Two F-connectors provide the 75 Ω interface in/out.
- Two gas discharge tubes (one at each port) clamp surges and ESD to the RVS spike ground.
- RVS spike ground provides a defined CM drain path while the enclosure itself is galvanically insulated on one side via ASA insert — preventing loops.
Installation direction (important):
The side with the RVS ground clamp/peg must always face the antenna side of the connection so a local ground reference is established before the choking action.
The side with the RVS ground clamp/peg must always face the antenna side of the connection so a local ground reference is established before the choking action.
- Antenna side: Mount the unit near the feedpoint with the RVS clamp pointing toward the antenna. First the peg provides the reference ground, then the choke follows toward the coax run.
- Shack side: Mount the second unit at the shack entry with the RVS clamp pointing toward the incoming long coax from the antenna (not toward the radios). Again: ground reference first, then the choke into the shack.
Install with Confidence
Connect inline at both ends: one unit near the antenna, one at the shack wall. Always orient the RVS clamp side toward the antenna/long-coax side so the antenna system gets a reference ground before the choke. The included RVS peg ensures stable grounding even in temporary or portable deployments. Buy it here →
Mini-FAQ
- Is this choke only for RX? — Yes, it is optimized for receive systems and not rated for TX power.
- Why the RVS spike? — Provides a controlled low-impedance drain for common-mode noise while avoiding galvanic loops with the enclosure.
- Do I need one or two? — Best practice is to install one at the antenna and another at the shack entrance for full suppression coverage.
- Which way around? — Always point the RVS clamp side toward the coax run that brings noise in, so shunting happens before the signal path continues.
Interested in more technical content? Subscribe to our updates for deep-dive RF articles and lab notes.
Questions or experiences to share? Feel free to contact RF.Guru.